|
Burn-in
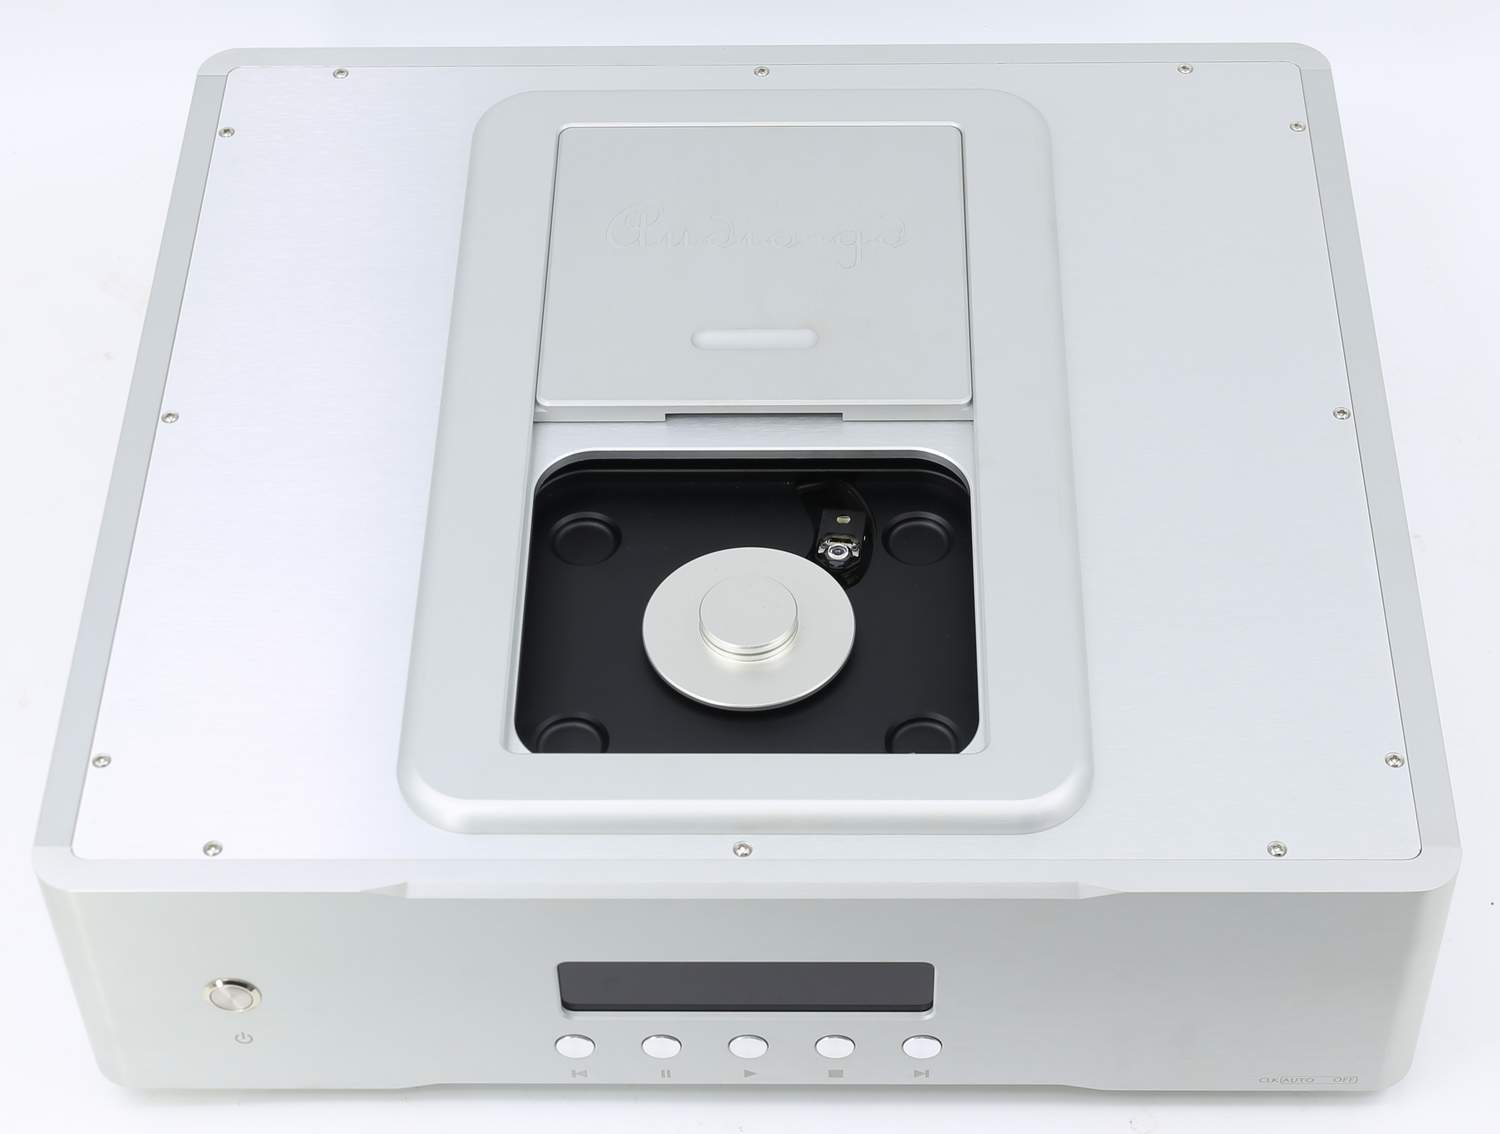
Information for CD-7 HE
This unit has undergone 300 hours of
factory burn-in prior to shipment. After receipt, customers only need to
power the unit for an accumulated duration of approximately 24 hours to
complete the burn-in process. Playing a CD is not required during this
period.
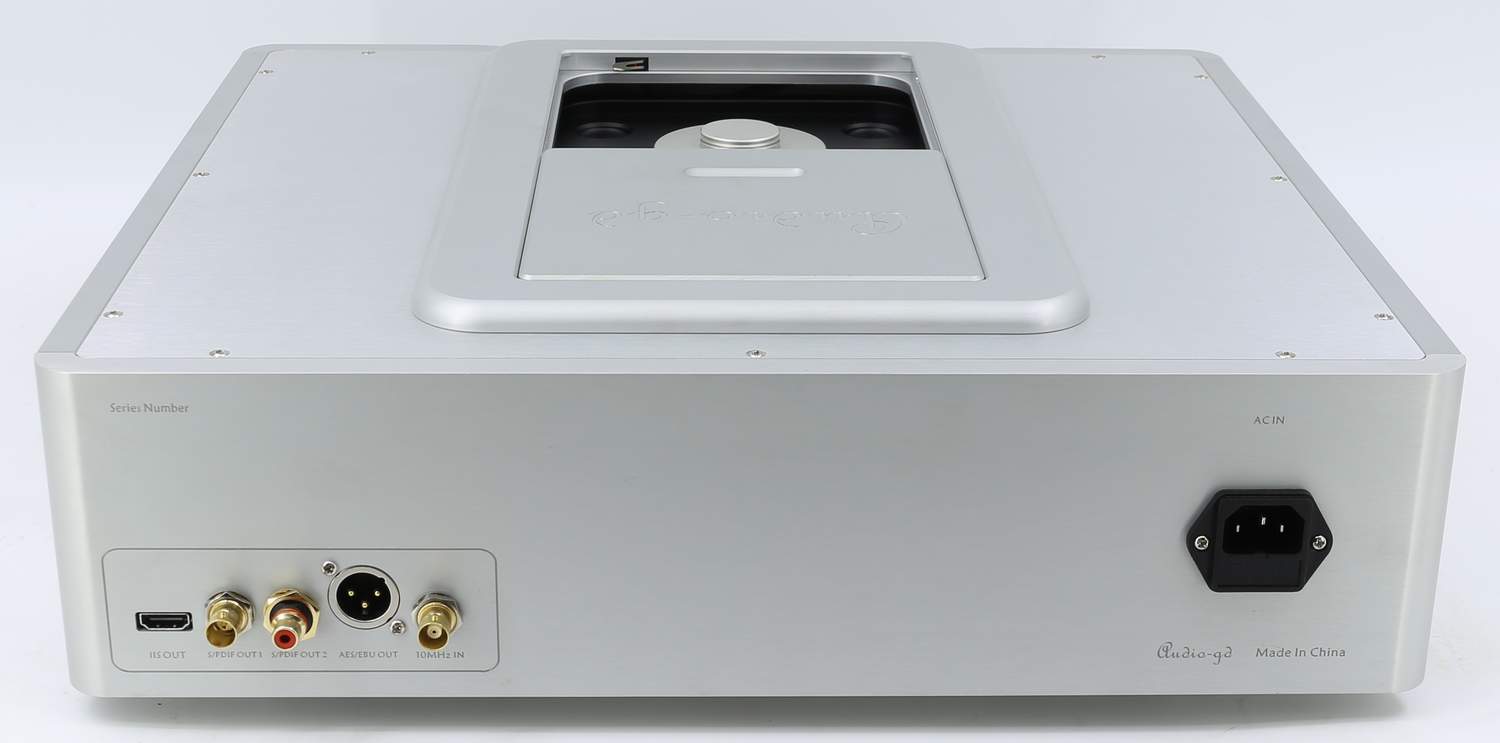
Input & Output Terminals:
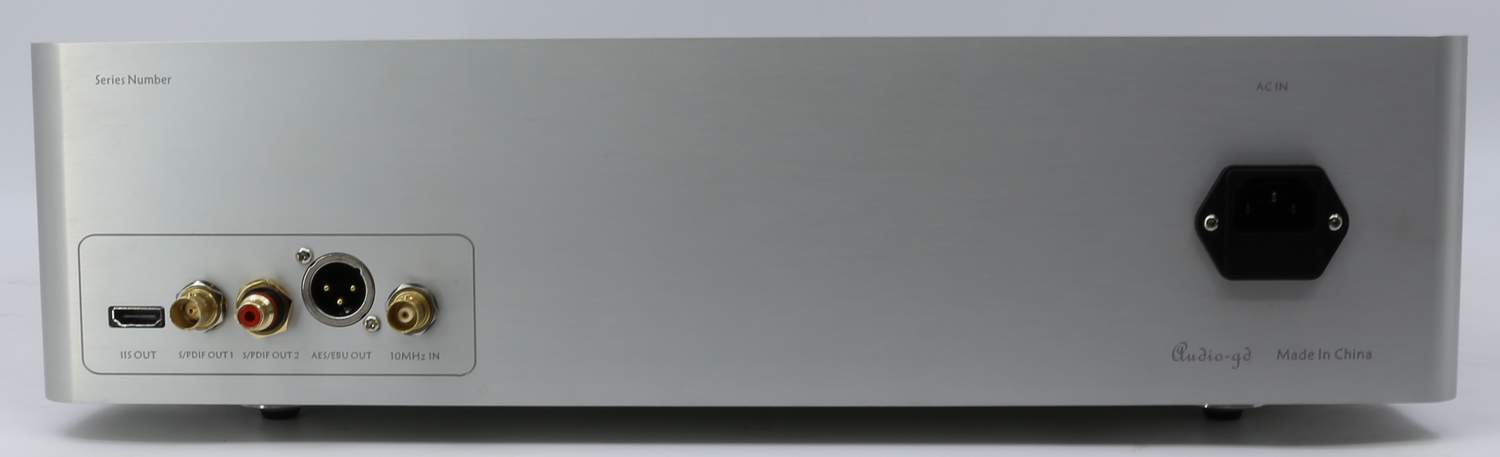
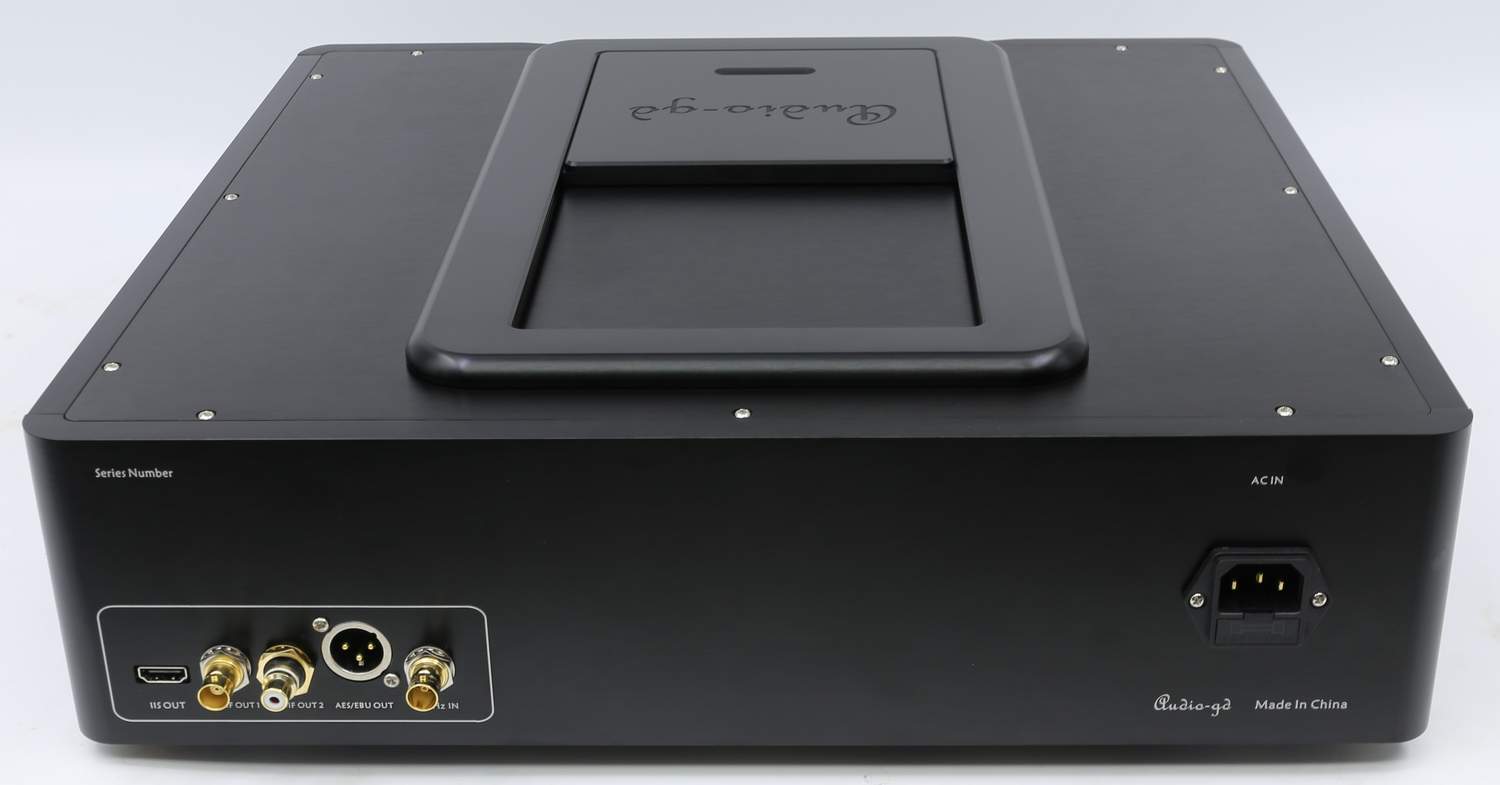
AC IN: Connect to mains power supply.
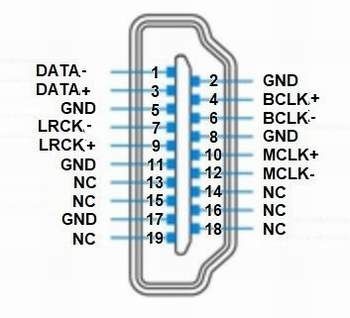
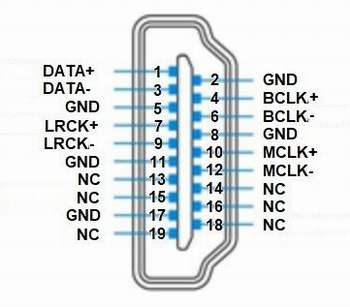
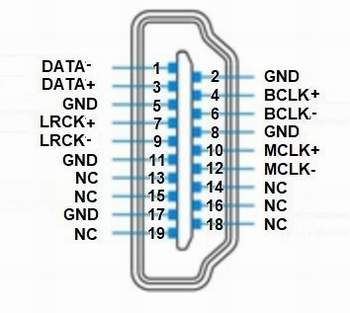
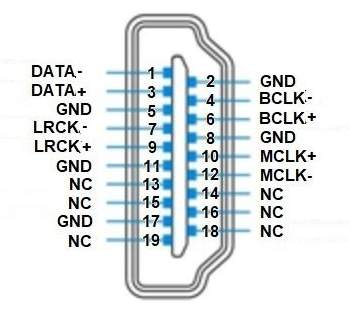
I²S OUT: For HDMI-I²S signal cable connection. Four output formats are
selectable; see specifications below. (It is recommended to specify your
required format upon order placement so we can configure the unit prior
to shipment.)
S/PDIF OUT1: 75Ω BNC coaxial output terminal.
S/PDIF OUT2: 75Ω RCA coaxial output terminal.
AES/EBU OUT: 110Ω balanced digital AES output terminal.
10MHz IN: External 10MHz clock input terminal, for connection to an
external 10MHz reference clock.
External Clock Connection:
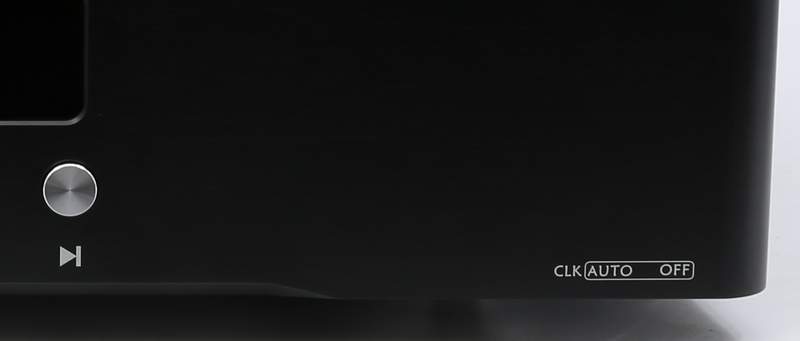
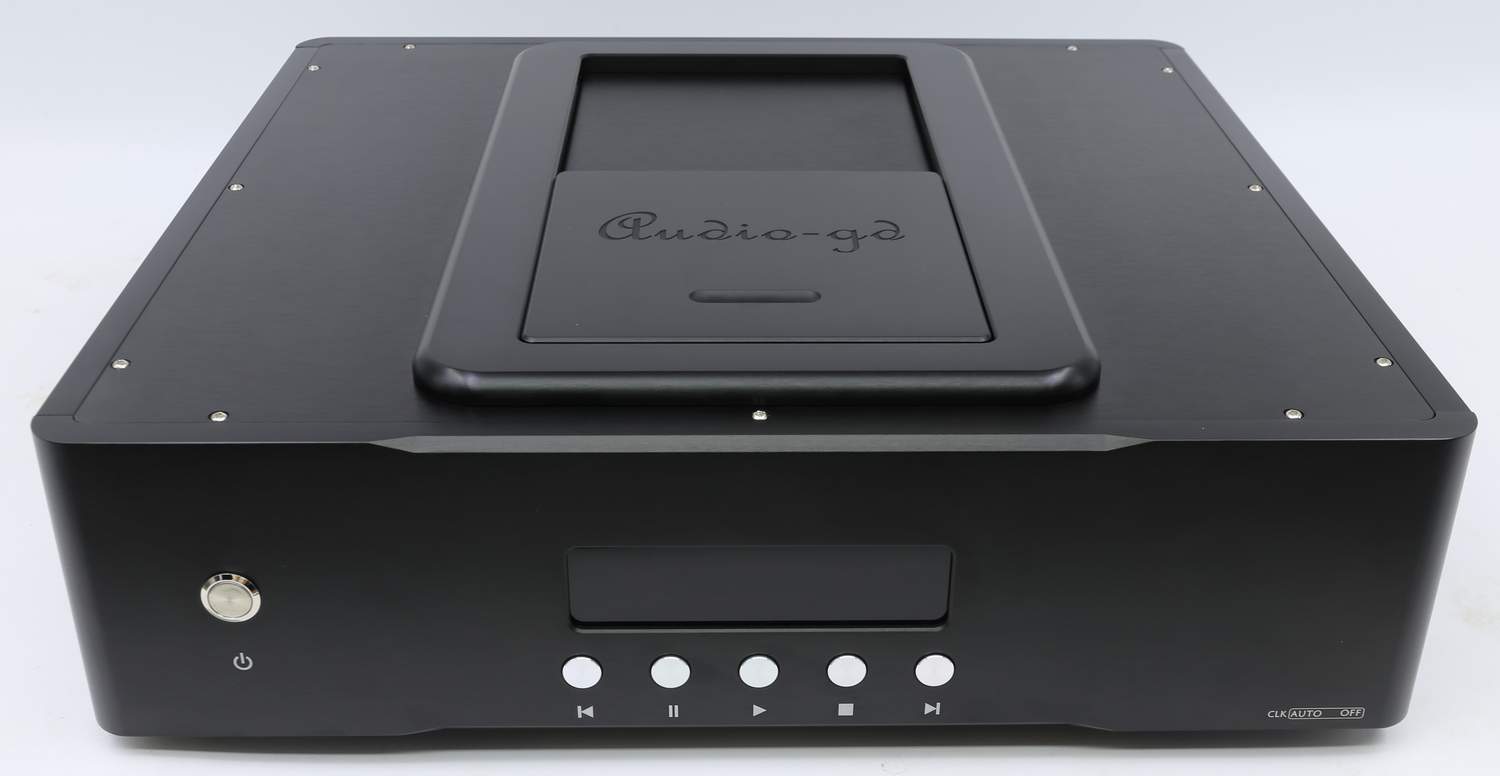
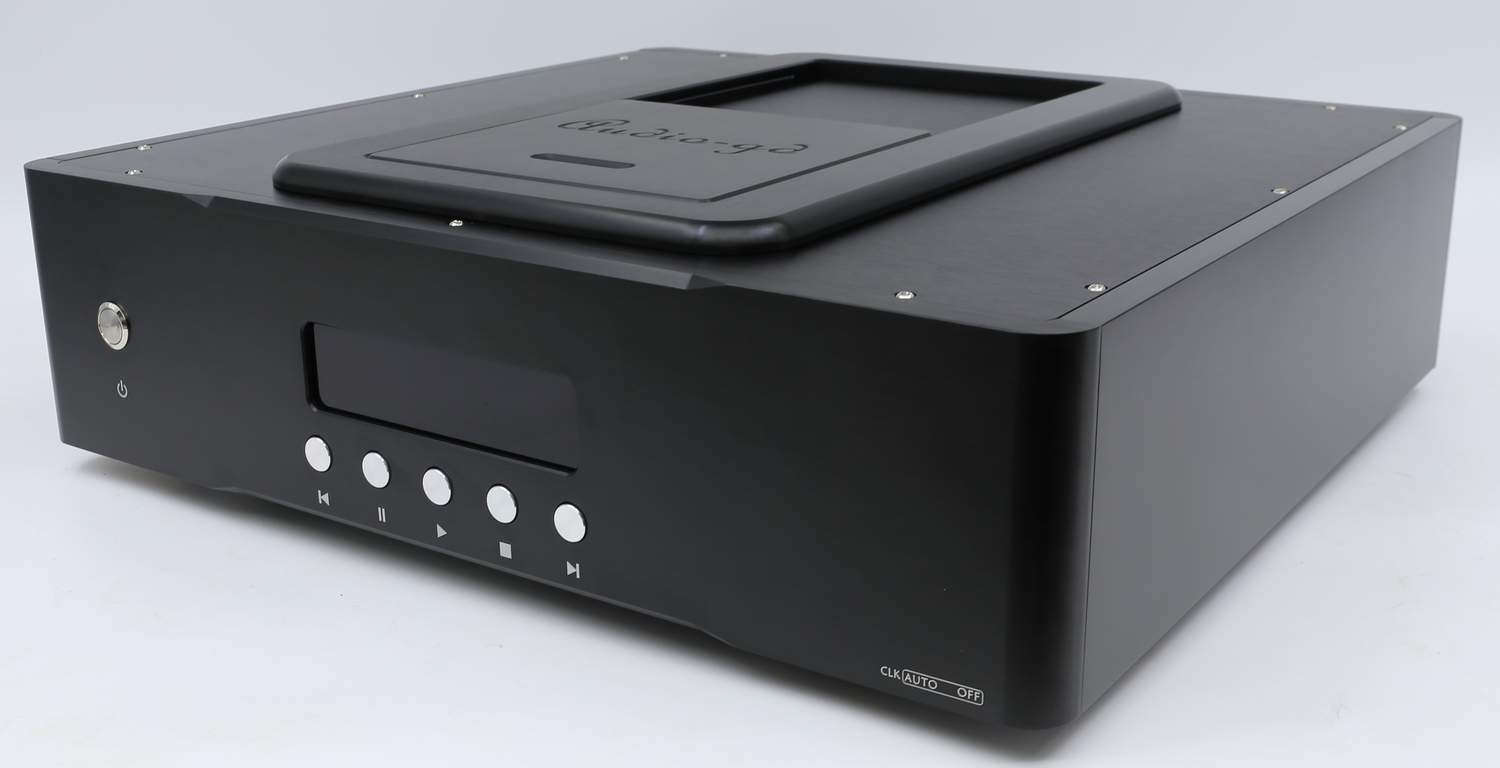
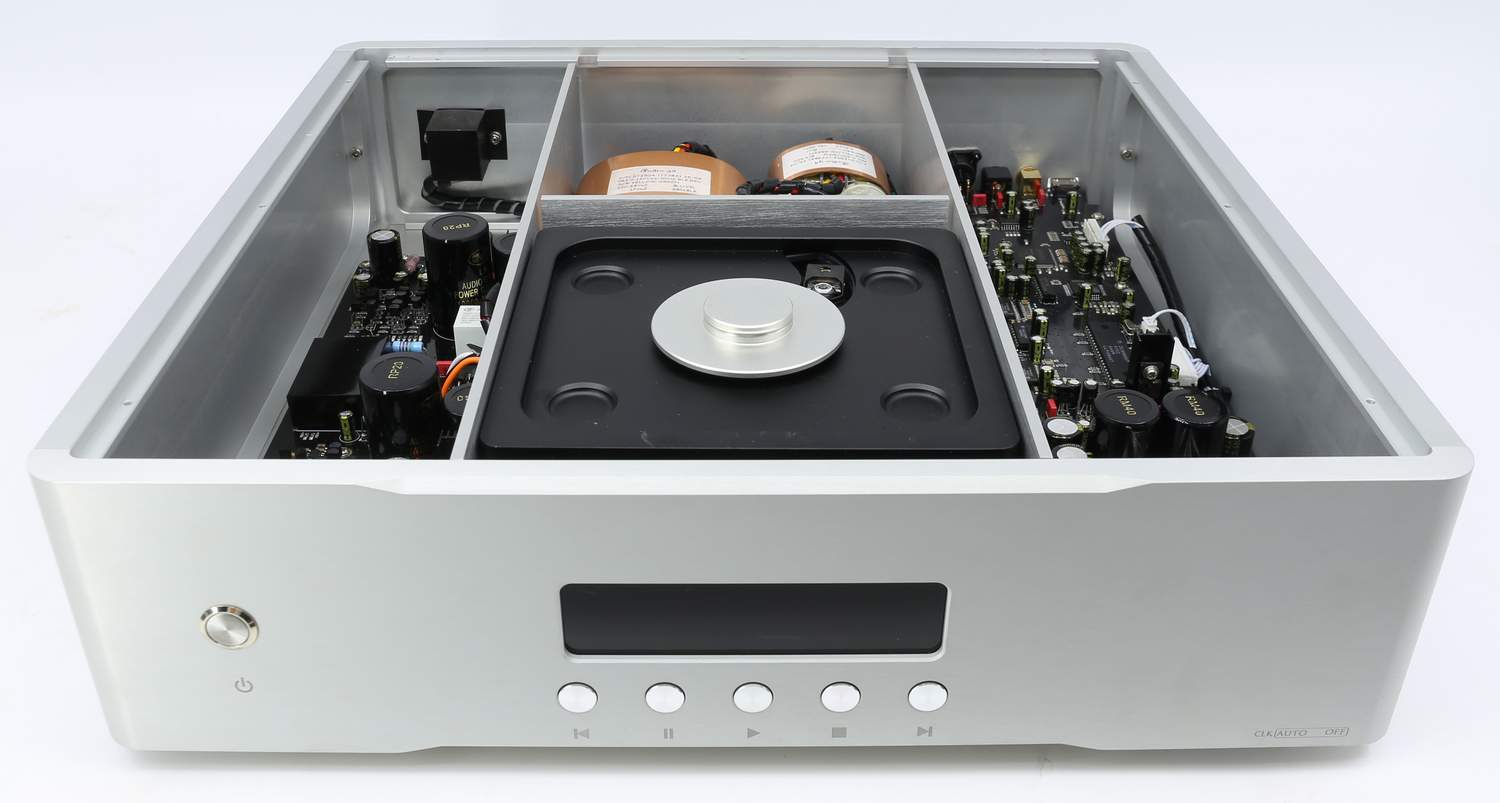
When an external 10MHz clock is
connected, there is a switch mounted on the bottom surface near the
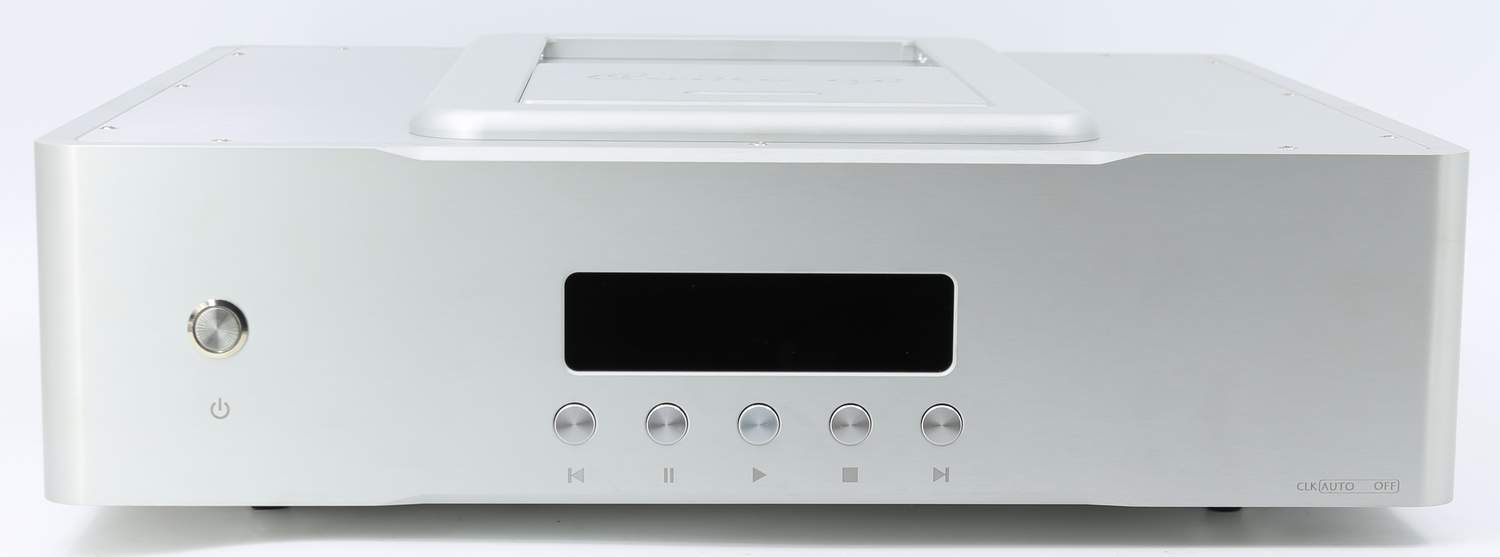
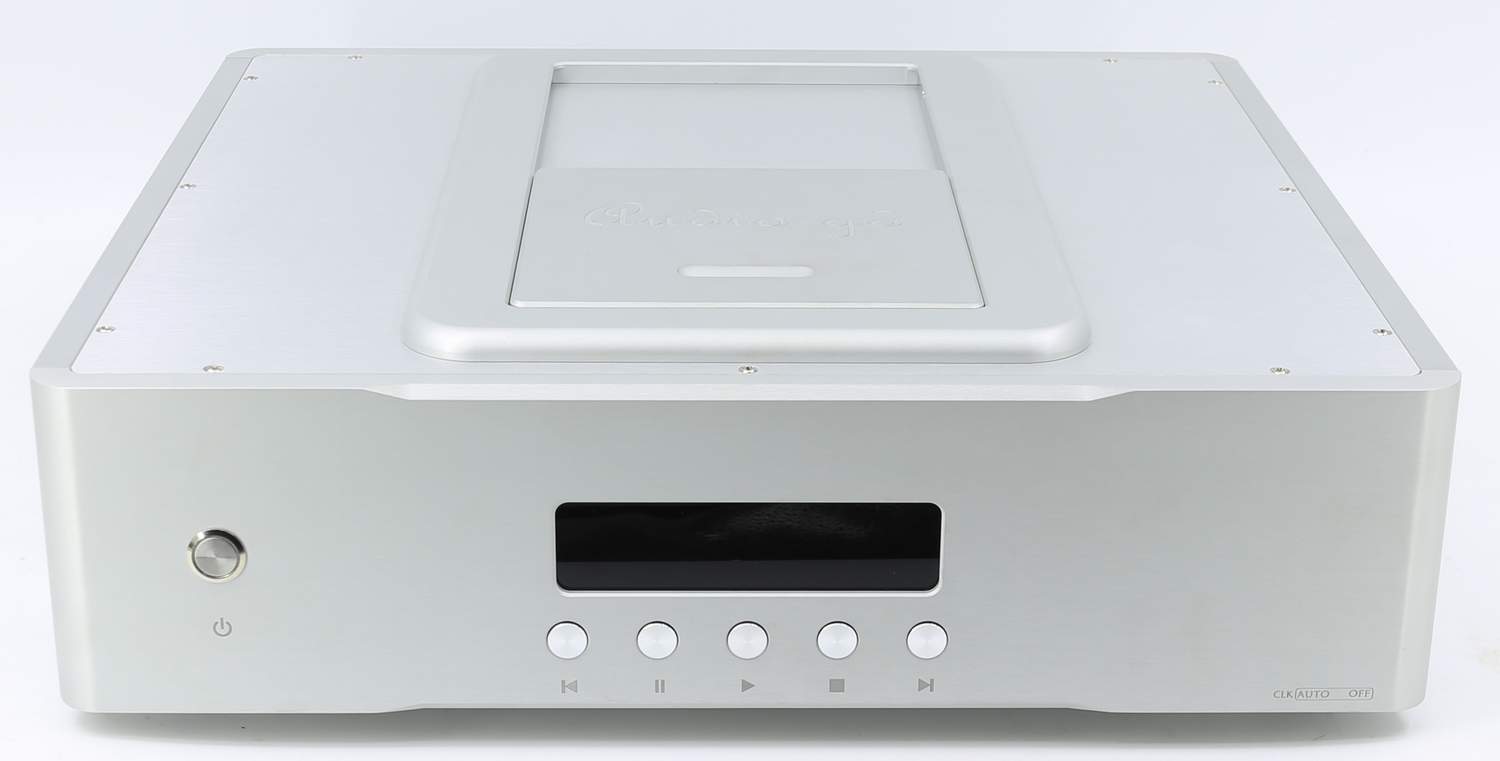
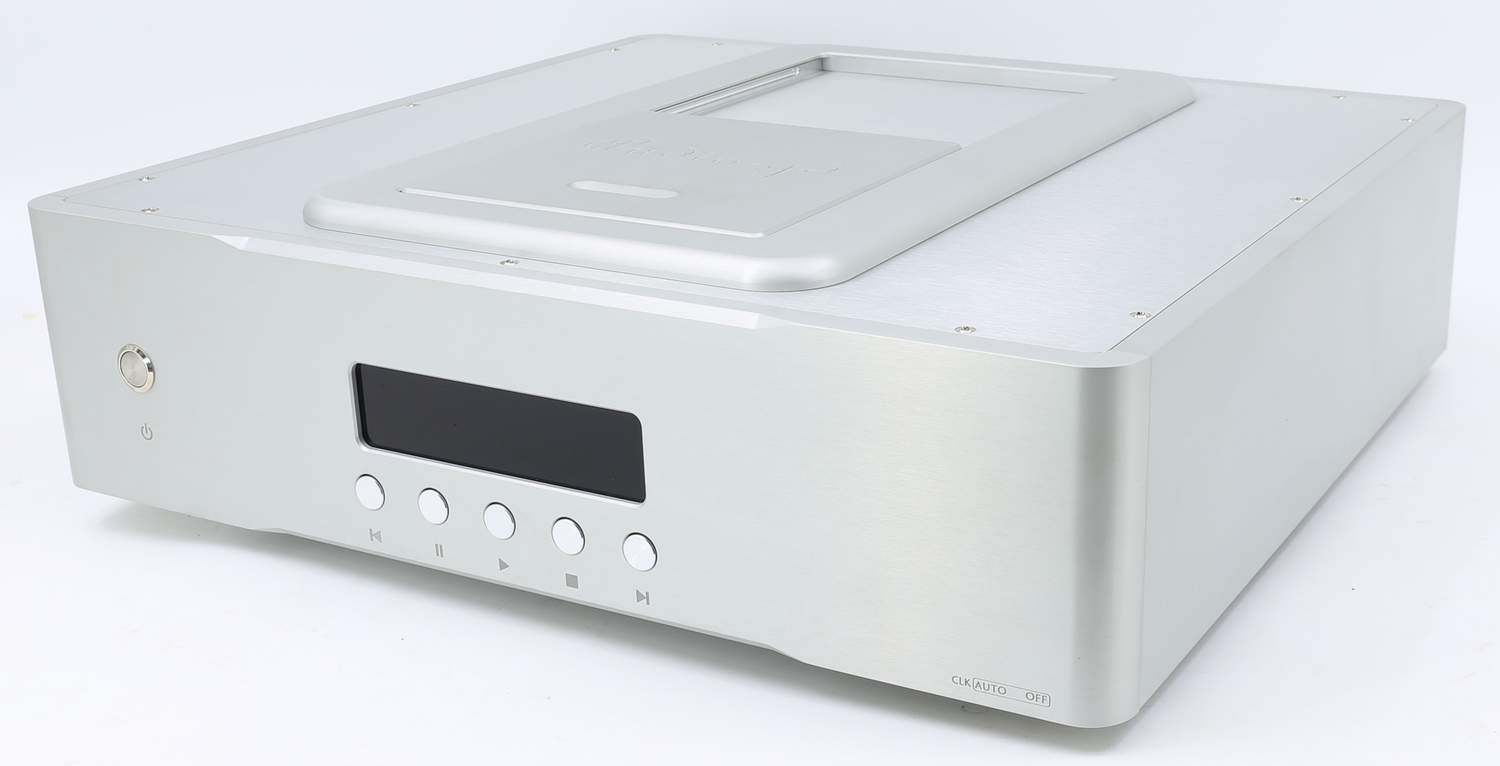
bottom-right corner of the front panel. Set the switch to the AUTO
position: upon power-up, the unit will automatically detect and lock to
the connected external clock, and the CD-7 HE will switch over to use
the external clock as its master clock. Set the switch to the OFF
position: the unit will ignore and not utilise the external clock
source. Leave the switch at the AUTO position when no external clock is
connected.
Four HDMI‑I²S Output Format Selection
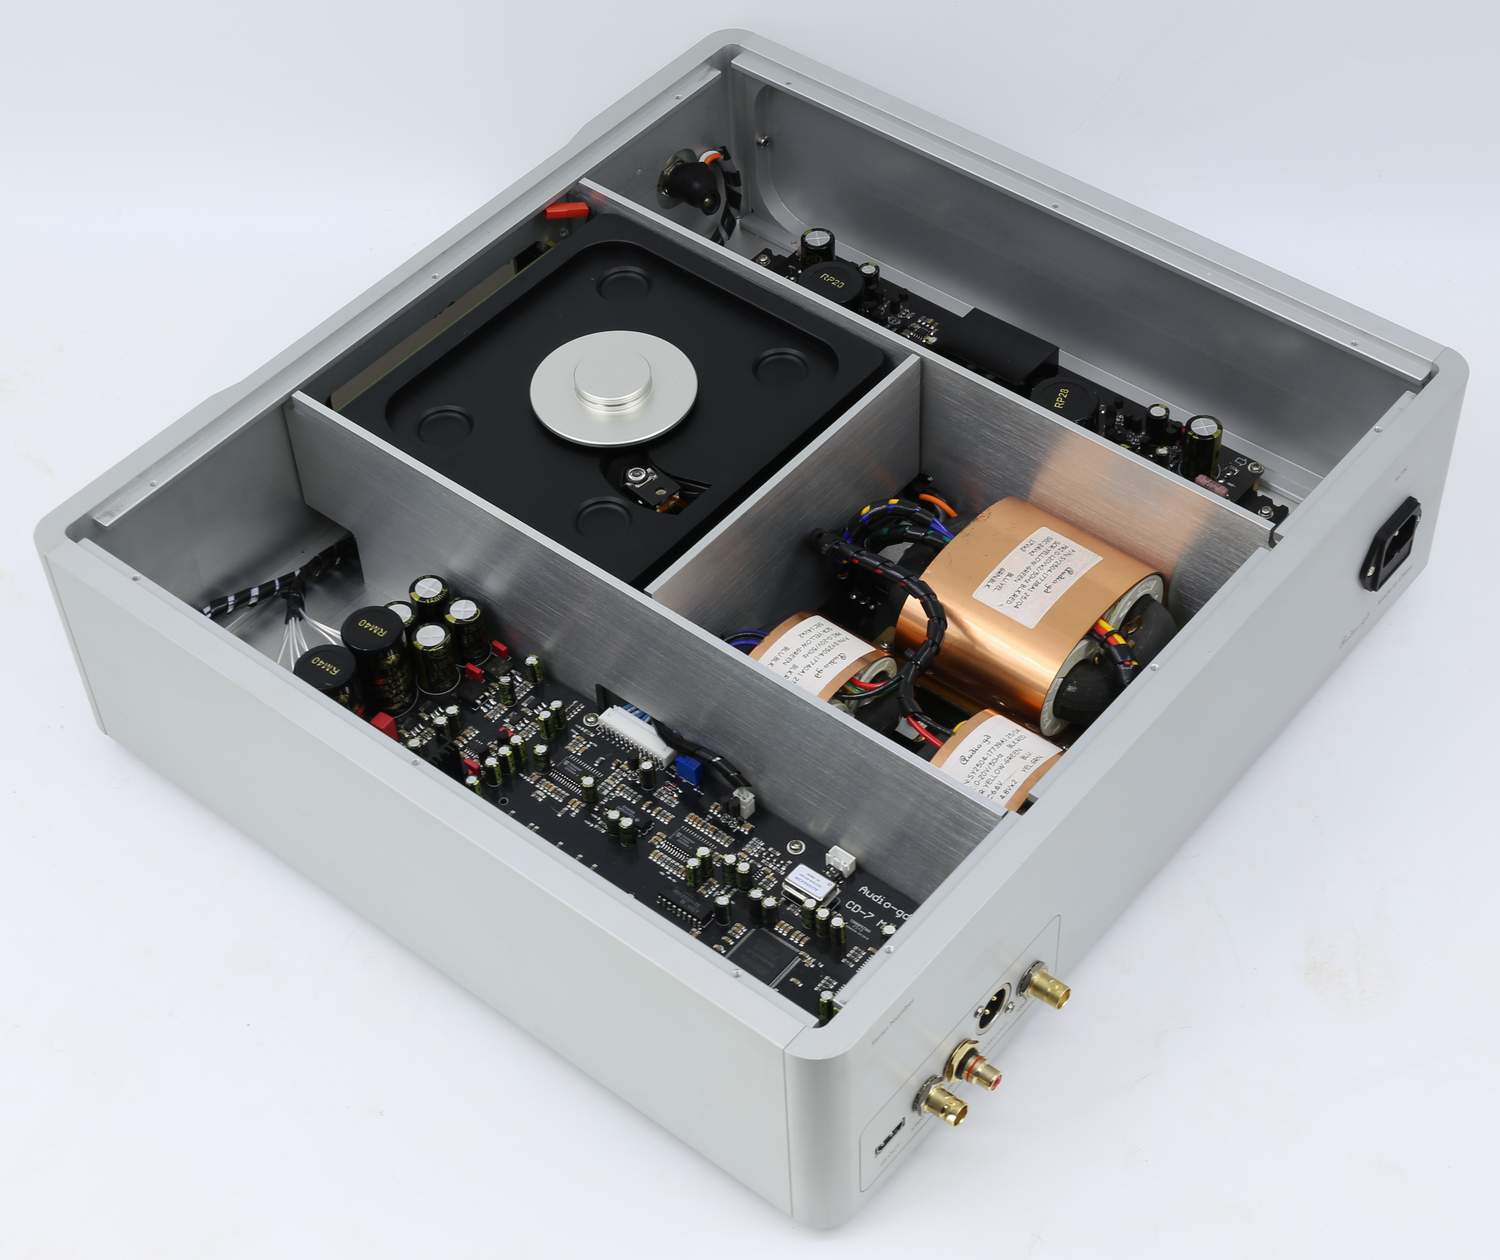
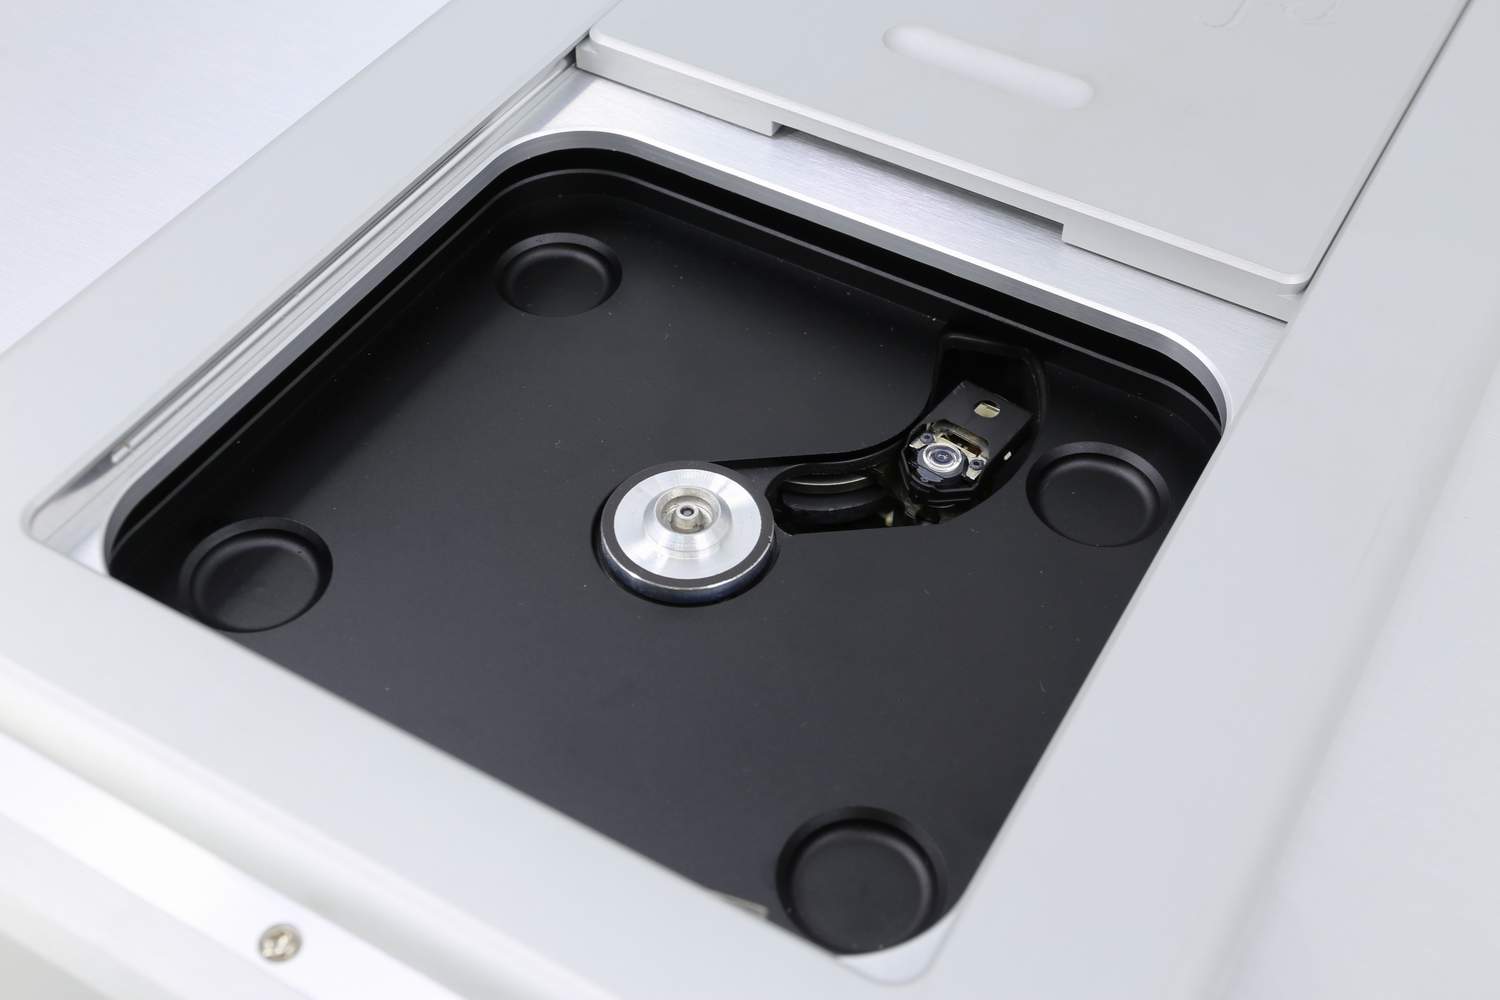
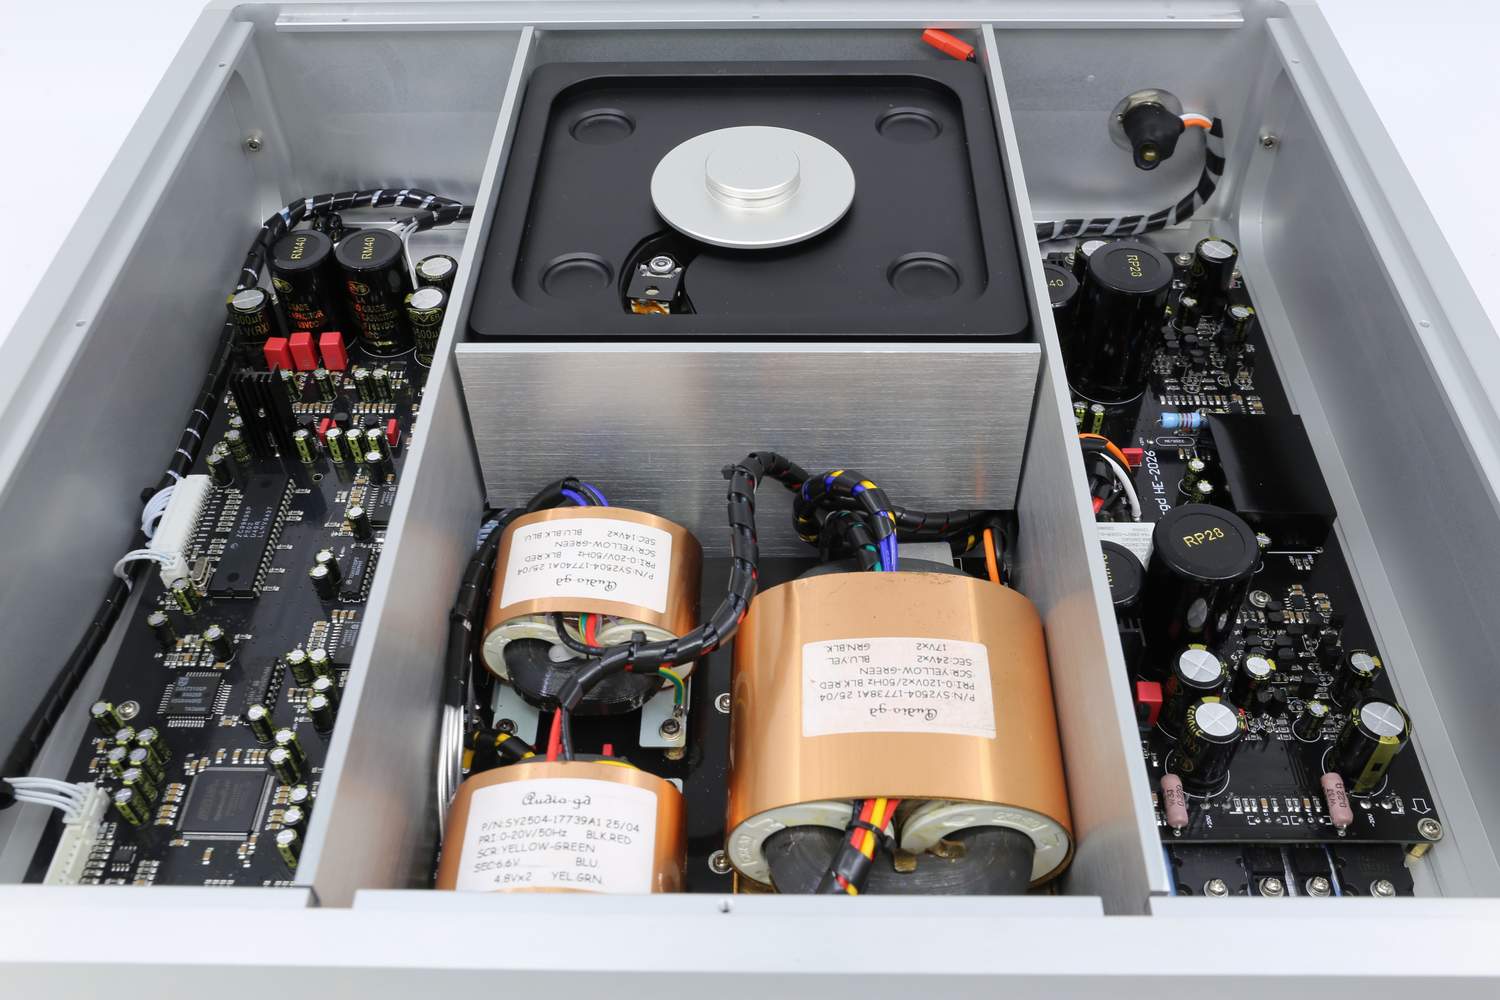
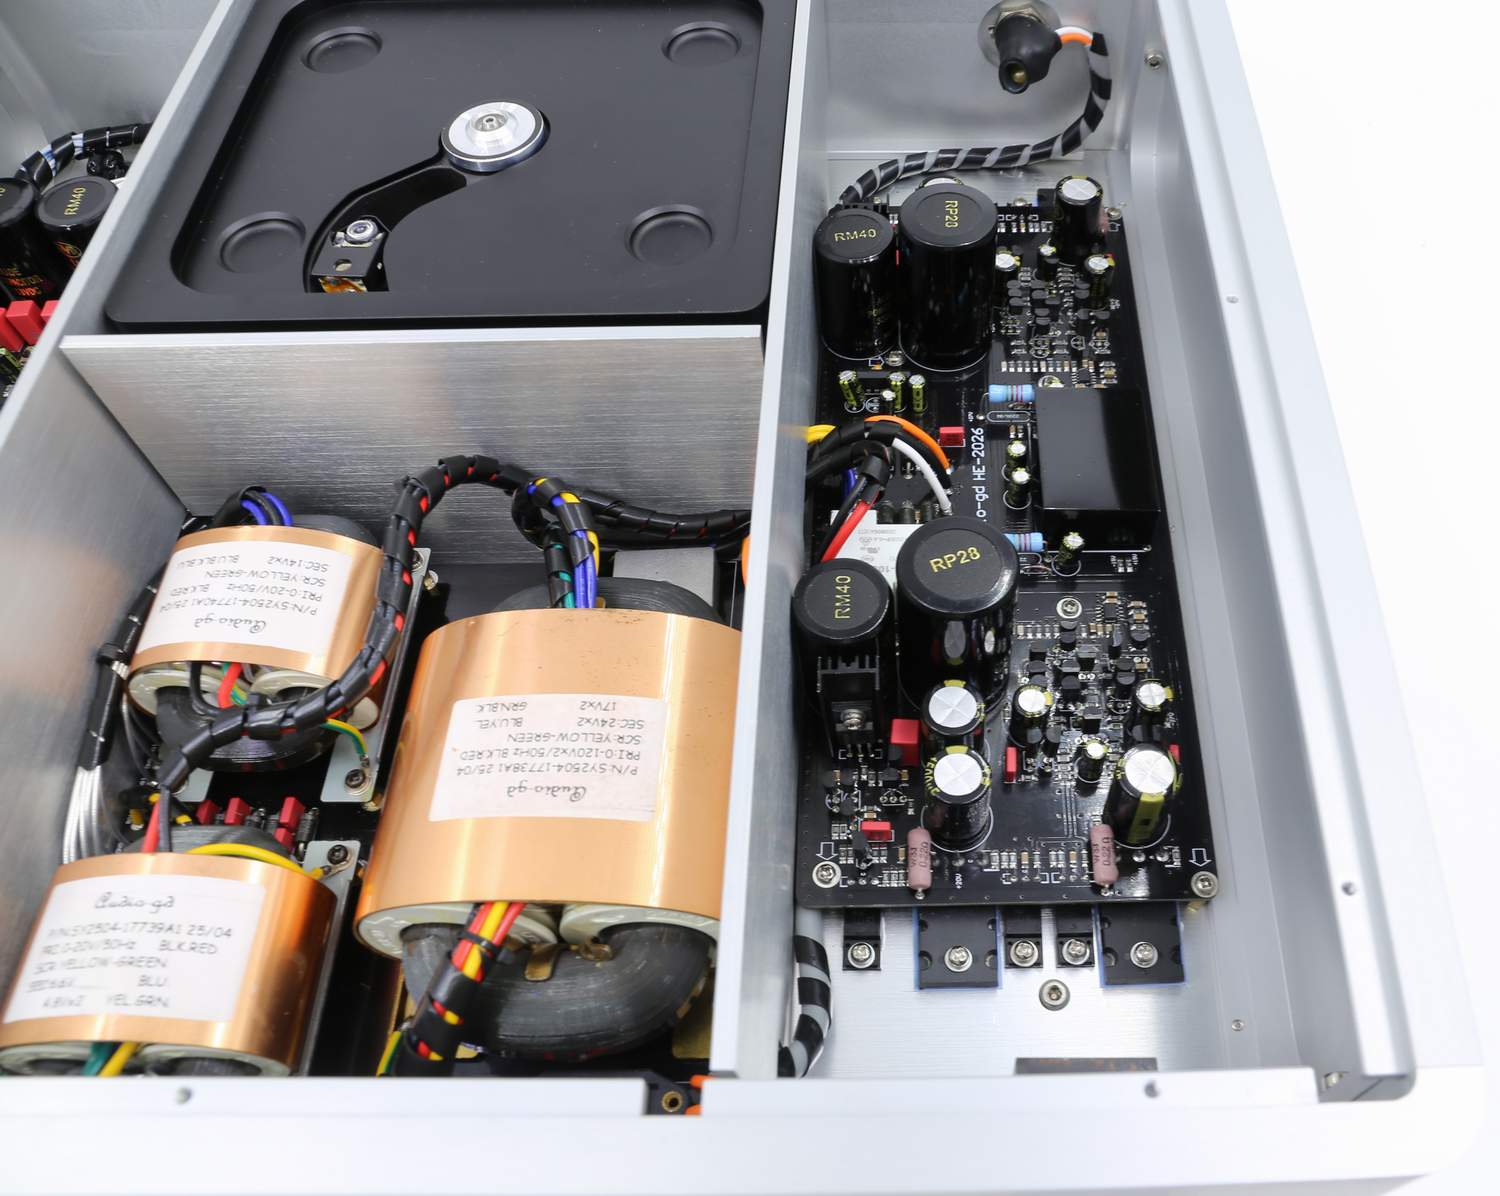
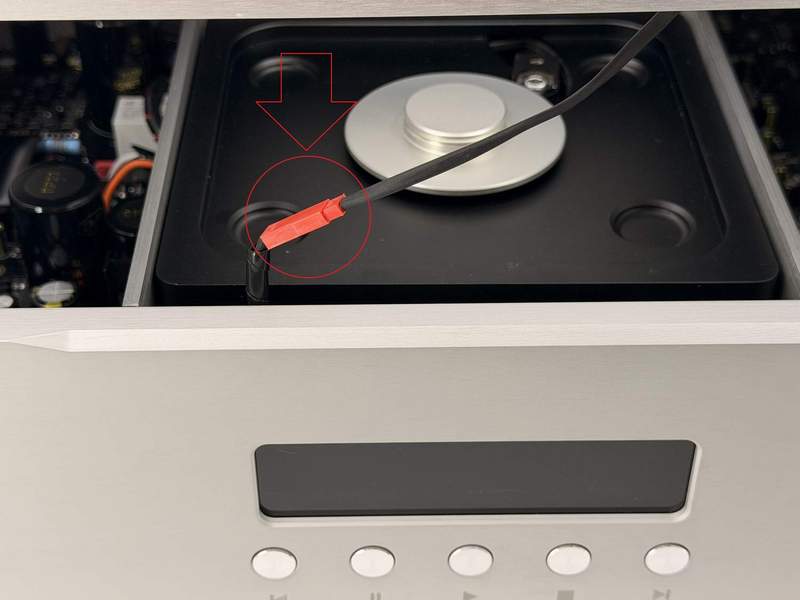
To switch the output format, the top cover of
CD‑7 HE needs to be removed. Be sure to disconnect the cable of the tray
limit switch near the front panel from its socket.
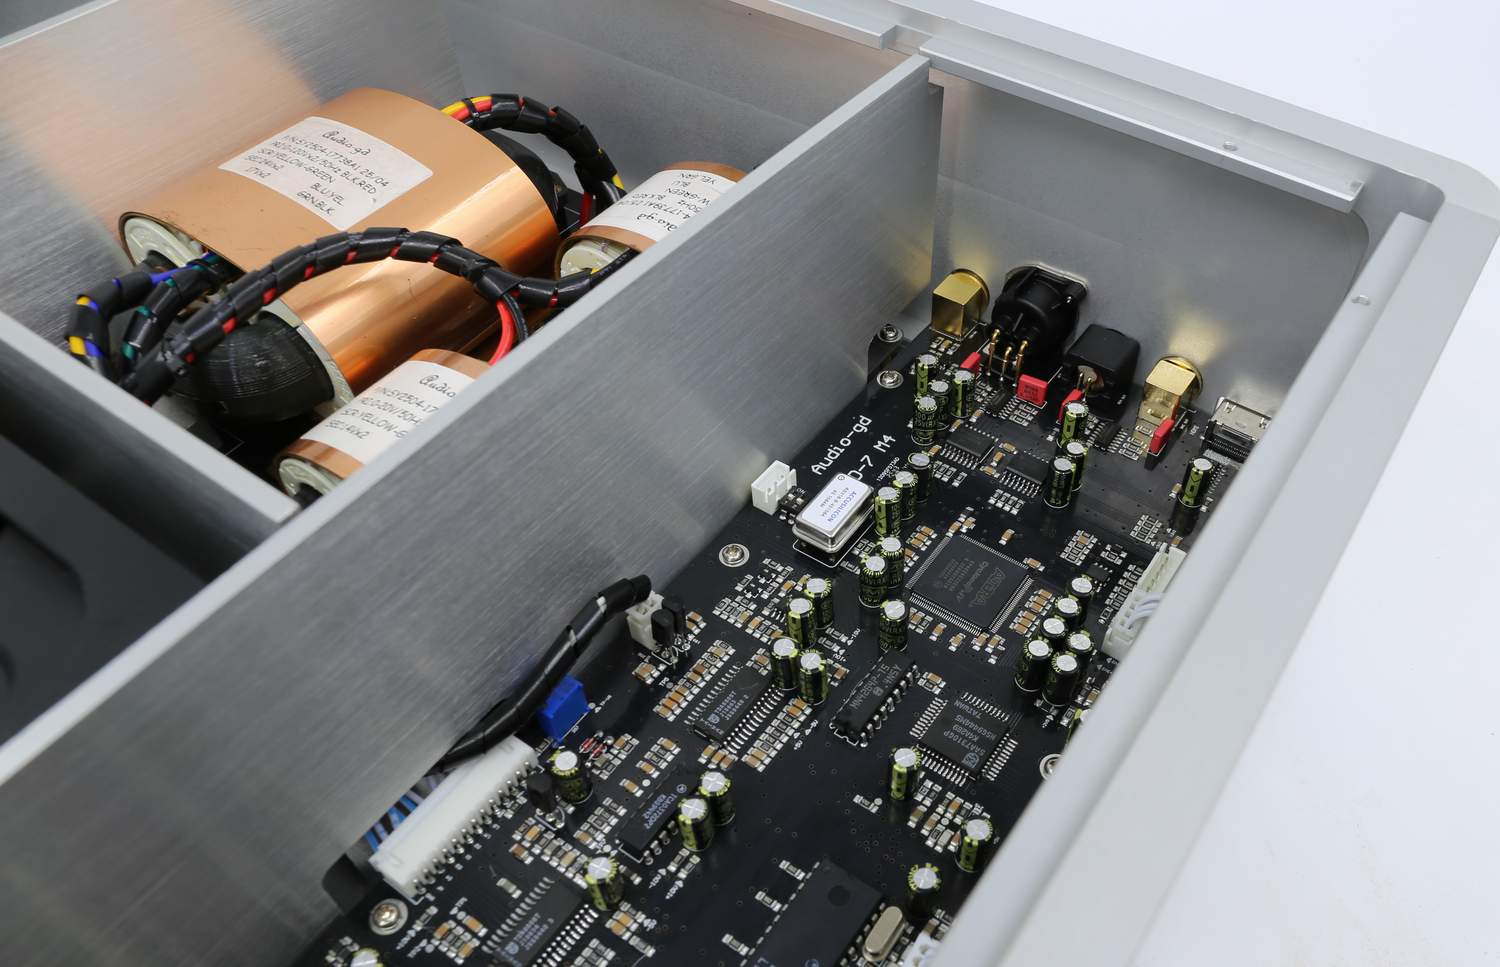
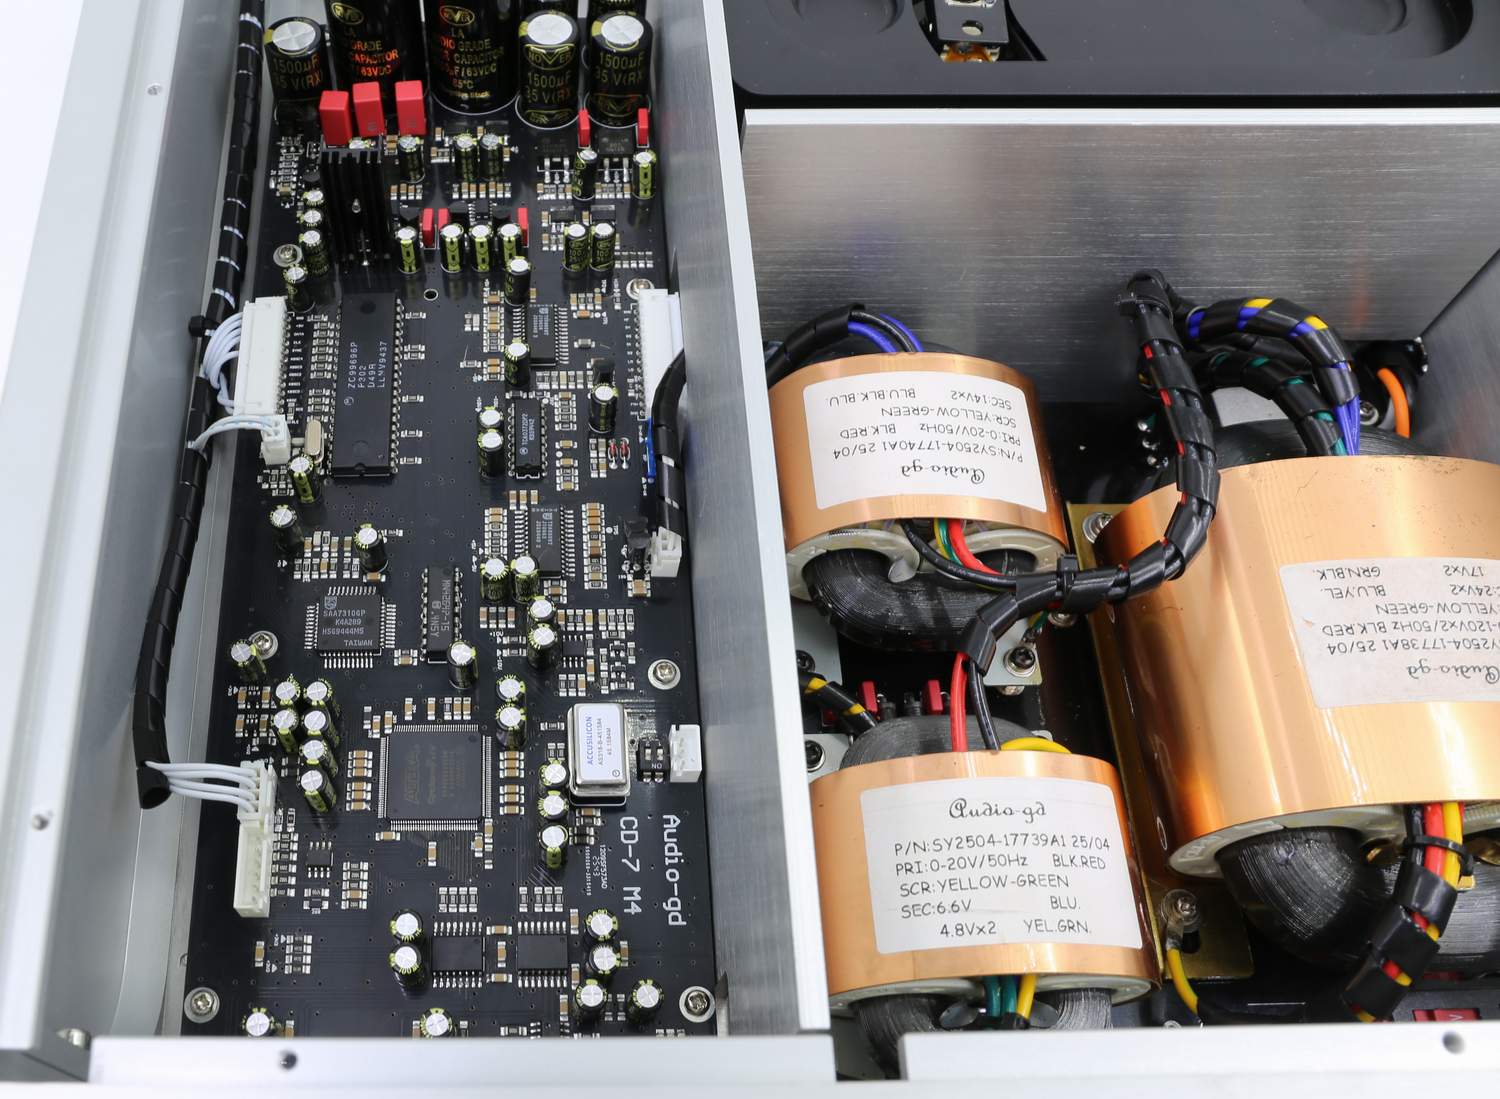
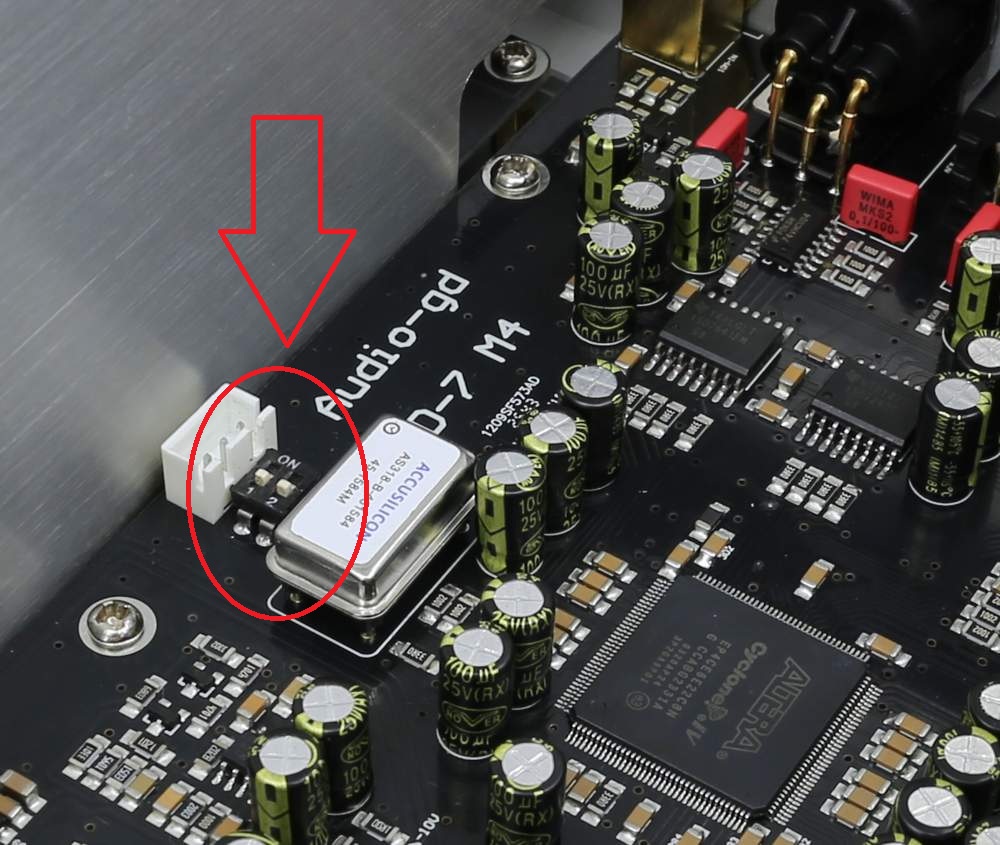
Locate a 2‑way DIP switch beside the
crystal oscillator close to the rear panel. The switch is marked with
"1", "2" and "ON" indicating the closed position. Use a small flathead
screwdriver to toggle the switch settings.
Format 1
Format 2
Format 3
Format 4
Switch Status vs Format Lookup Table |